Create Assignment
In this Document:
- Basic Navigation
- How to Add Questions to your Assignment
- Editing, Deleting and changing point totals for Questions
- How to Tag Questions and the Assignment
- Other Features
- How to set up an Assignment
- How to Assign to Students
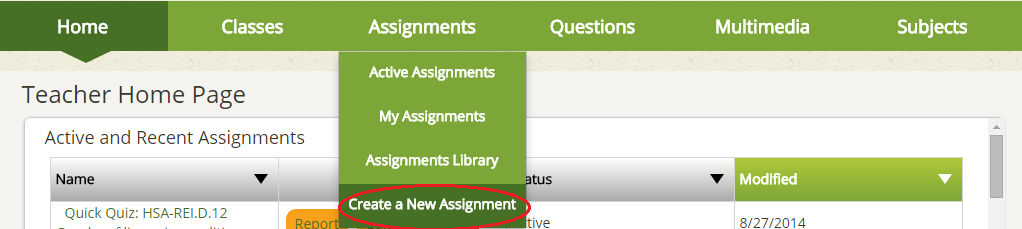
a. How to get there from Homepage
Click on the Assignments tab and choose Create a New Assignment

c. How to Save/Activate your Assignment
Step 1: Click the Save button, the pop up below will appear
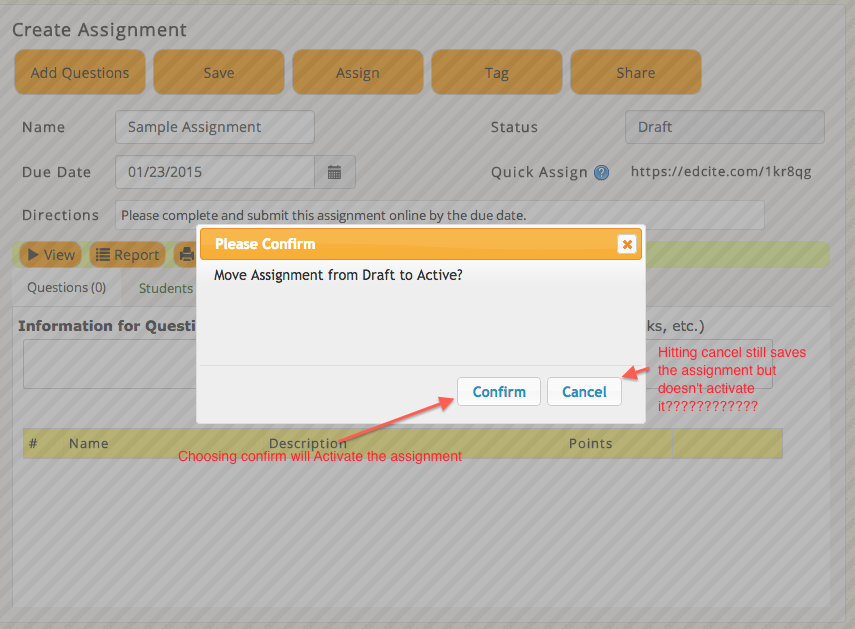
Step 2: Choose confirm to activate the assignment. Note: this does not mean it is sent to students, it just makes it possible to send to students. After pressing confirm, the screen will look like the screenshot below:

II. How to Add Questions to your Assignment
a. From My Questions or the Edcite Library
Step 1: Click on the Add Questions button, you will see the screen below.

Step 2: Check the checkbox next to the question(s) you want to add and click Add Selected Question to add it. If you want to add a question from the Edcite library, choose the Shared Questions tab and follow the same steps!
Step 1: Click the Add New Question button, you will see the screen below.

Step 2: This will open the Create New Question screen. If you need help creating a new question see this help document [link to Create Question document]
Note: You can also import questions from other assignments. The steps are the same!
III. Editing and Deleting Questions
The assignment editor will open up once you click on ‘Add Selected Questions’. Your selected questions will be listed in a table at the bottom of the page.
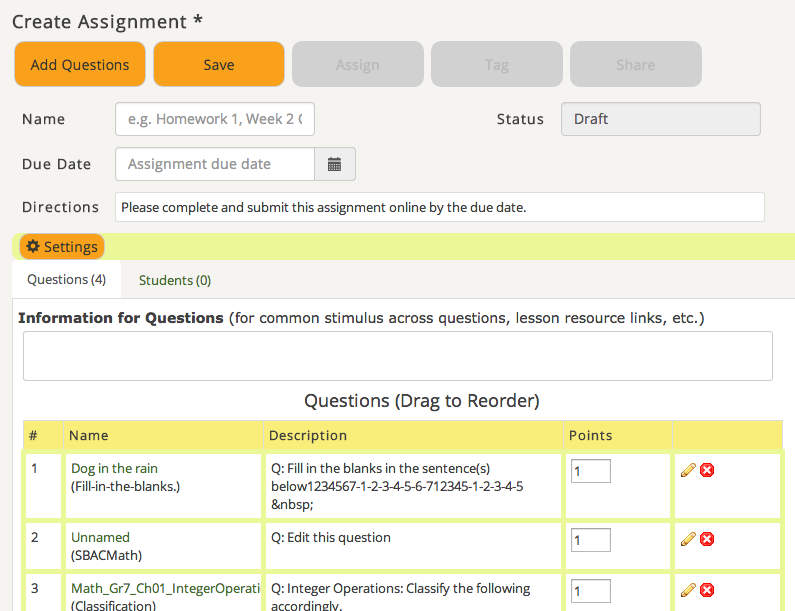
1. You can drag the questions around to reorder them in the assignment.
2. You can also change the question-wise point allocation by editing the Points field. If you’d like to make edits in a question, click on the pencil icon in the right-most column to open up the question editor in a popup window. You will get a message asking you to confirm if you want to make a change that applies only to the current assignment. (If a question is used across multiple assignments then you may want to update the question in all places where it’s used).
3. On the screen above, you can also change the point values for each question by typing a new number in the points column.

To ensure that your changes apply to only the current assignment, click on Confirm. To update all assignments on Edcite using the question, click on Cancel.
The popup question editor has all the features of the question editor described in the question creation documents. You can expand the popup window using the green arrow button to the top right.

Important: Remember to save your question when done editing. You should get a message that confirms the save, as shown below:
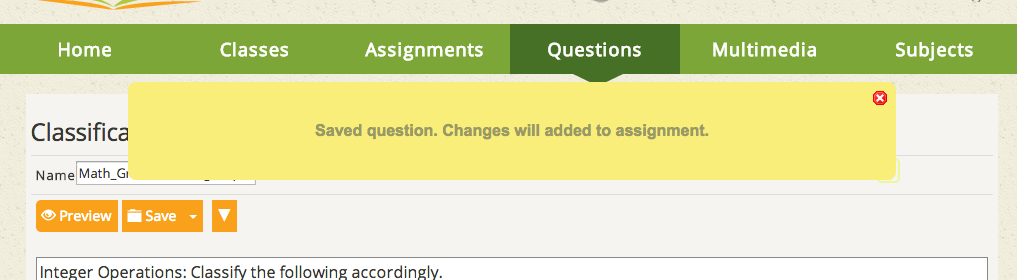
Click on the red x at the top right to close the message. Close the question window to return to the assignment.
IV. How to Tag Questions and Assignment
Click on the Tag button at the top of the editor. This will open up the screen below

To add a tag, either start typing the standard number or words that are in the standard.
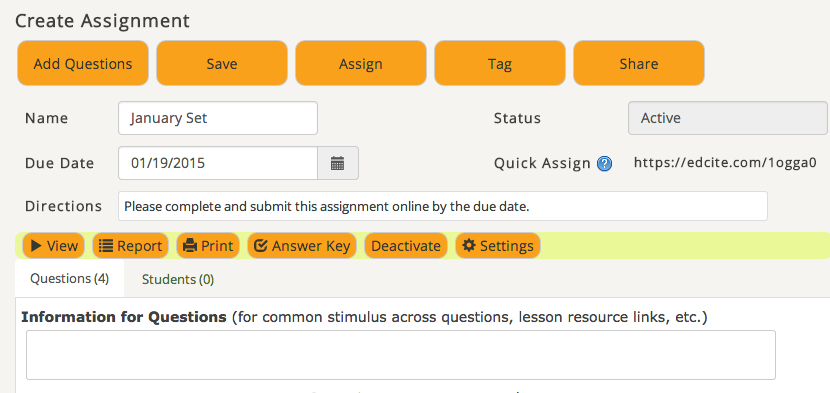
The buttons in the screenshot below each have a function, they are described below the screenshot.

View: The view button shows you the student view of the assignment. It is useful for previewing what your students will see.
Report: If you have already sent the assignment to students, the Report feature allows you to see their scores and grade any non-autograded questions.
Print: Turns the assignment into a printable document in case you want hard copies of the assignment.
Answer Key: Shows the questions and answers. It’s a good way to make sure everything is correct before sending out the assignment.
Deactivate: Disables assignment from being sent to more students.
Settings: Allow you to limit access times for students, set up retake options and choose to display a timer while students are completing the assignment.
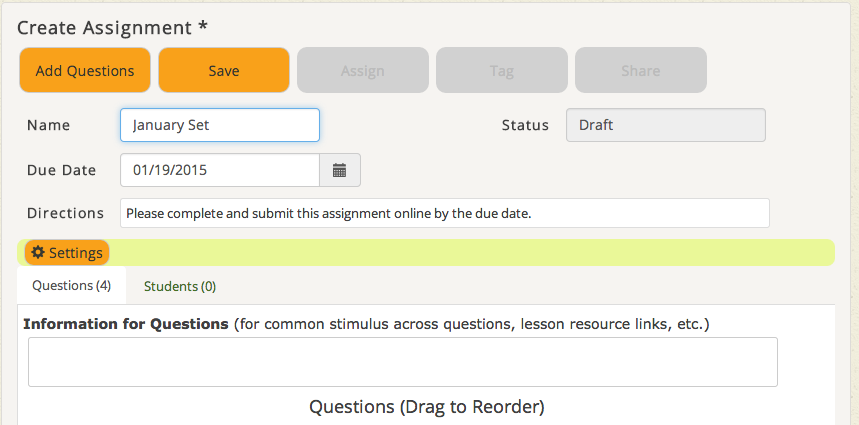
Give your assignment a name. Edcite requires you to provide a name for the assignment before you can save it. Note that the assignment name does not have to be unique.=
Optionally, provide a due date for the assignment (note that this due date is purely indicative - Edcite does not automatically restrict access to students beyond that date).
To restrict access to a certain date/time window, go into the Settings window (Click on the Settings button with the cog icon). The settings window opens up. Go to the Limit Access tab to set access times:
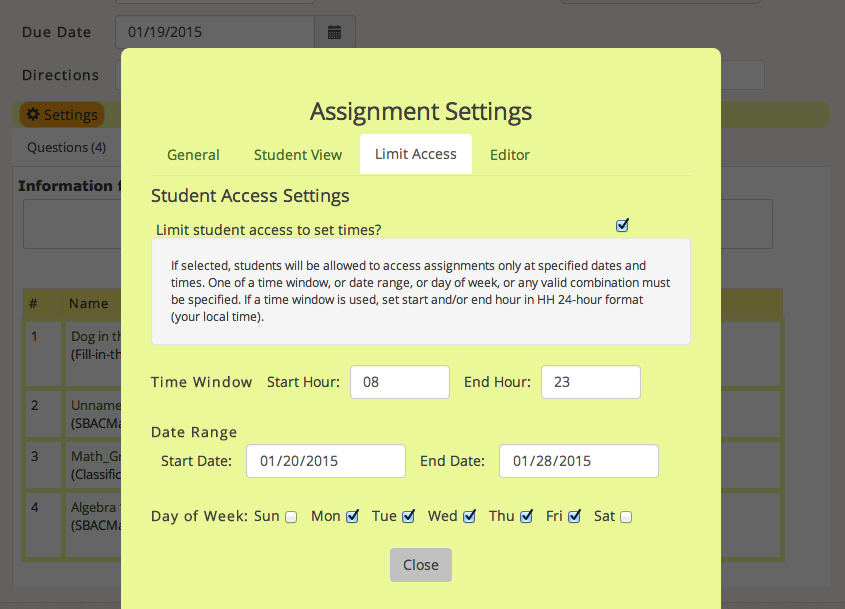
You can put in a date range, specify the access days of the week, and/or put in a time window in a 24 hourformat as shown above.
Make sure the “Limit student access to set times” checkbox is checked before you close the settings window to return to the assignment editor.
In the Information for Questions section, you can type in or paste in common stimulus information or directions for your students.
Save your assignment by hitting the Save button. You should get a confirmation message that asks you whether you want to save the assignment as a draft or as an active assignment:
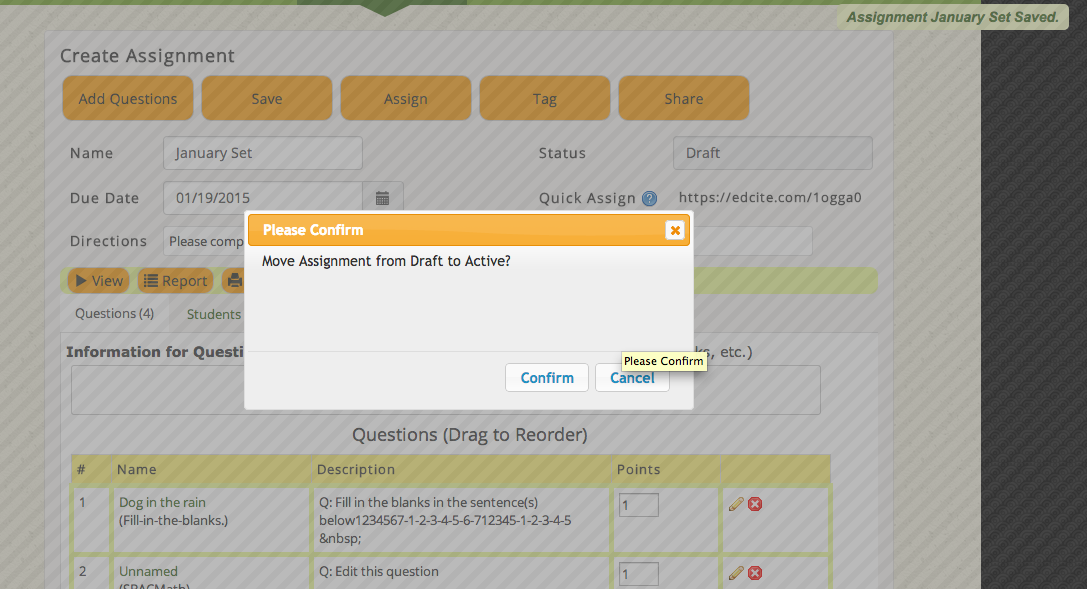
You can leave it in the draft state if you wish to make further edits to the assignment. If you think the assignment is ready to go out to students, click on Confirm, else click Cancel.
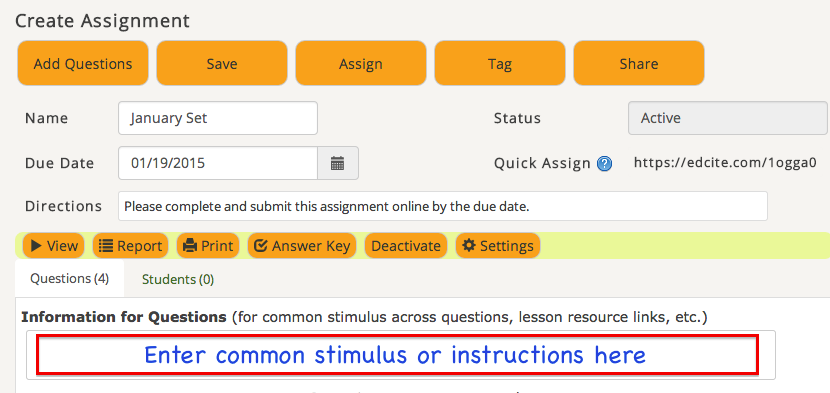
Once you confirm, the assignment status changes to “Active” from “Draft”. You can now view the assignment and customize viewing options for your students.
When the assignment is active, the assign, tag and share buttons get enabled in the assignment editor. See the section on tagging an assignment and sharing an assignment for more information.
Click on the Settings button to open up the Settings window to set viewing options for the assignment. Go to the Student View tab to enable the following settings:
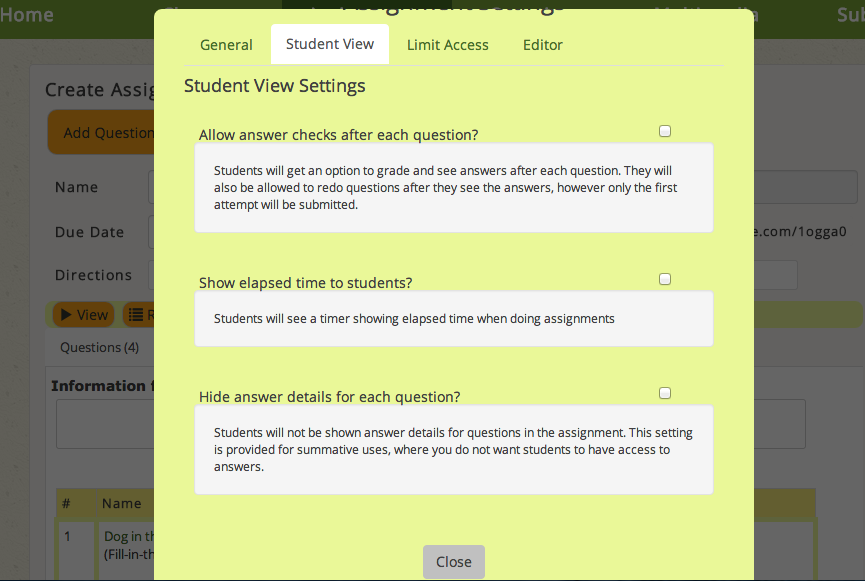
Hit Close to return to the assignment editor. Once you’ve set up the assignment and no more changes are due, you can add students to the assignment.
VII. Sending an Assignment to Students
There are two ways to add students to an assignment:
-
Click on the ‘Assign’ button to directly select students from your students/classes lists. To select all students in a class, select the topmost checkbox, to the left of the Name column.
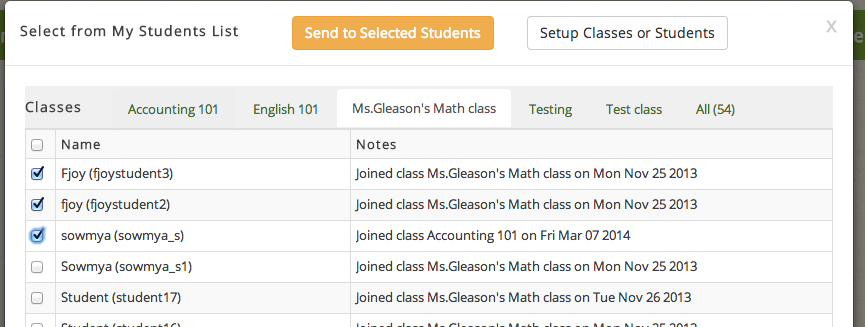
Hit “Send to Selected Students” to send assignment notifications. You should get a confirmation of the invitations being sent:
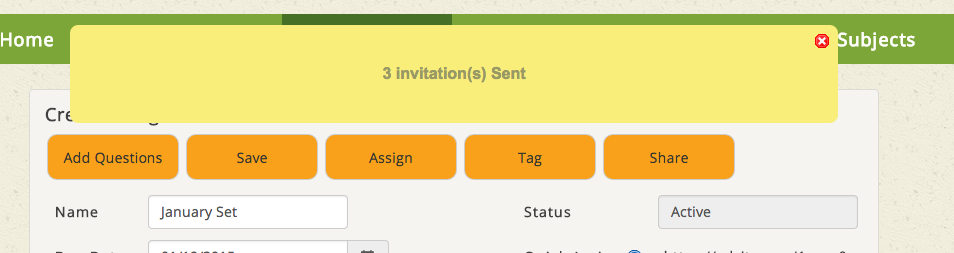
Close the message to return to the assignment editor. The Students tab on the assignment editor will list all those students who have received this assignment:

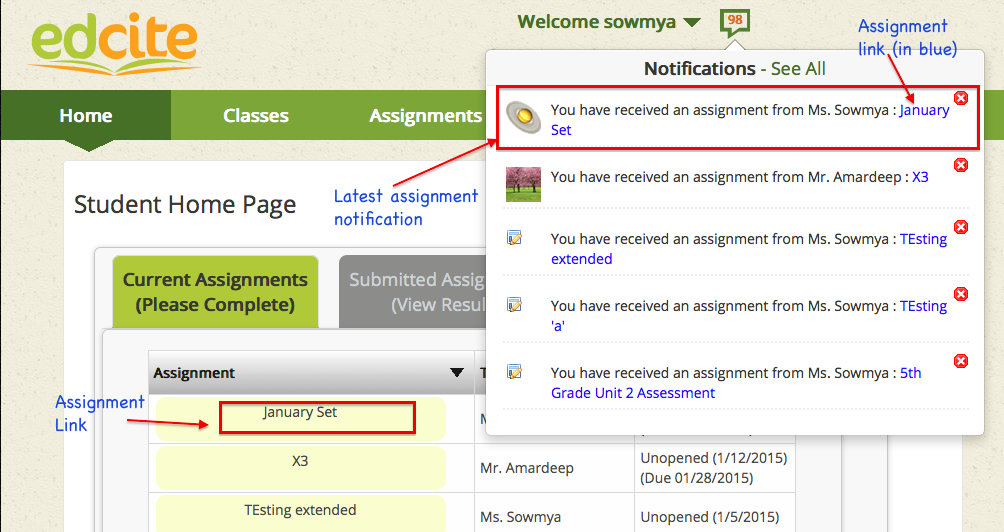
Your students should receive notifications of this assignment being sent to them. A sample student notification would look like this:

Students can access the assignment from either their notifications list (shown below), or from their list of pending assignments (Current Assignments) on their student home pages.
All of your saved assignments will be listed in ‘My Assignments’, available under Assignments->My Assignments in the navigation bar:
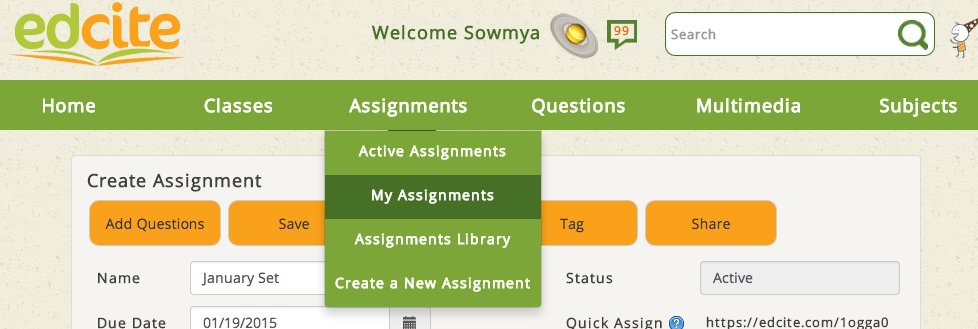
Share with students using the Quick Assign link (in the screenshot above right under the assignment status.
Note: The quick link does not make students sign in (they can just enter their first and last name). If students do not sign in, certain features will not be available to them. You will not be able to track their work across assignments and they will not be able to save and pause their assignment. For this reason, we recommend using the Assign method if possible!